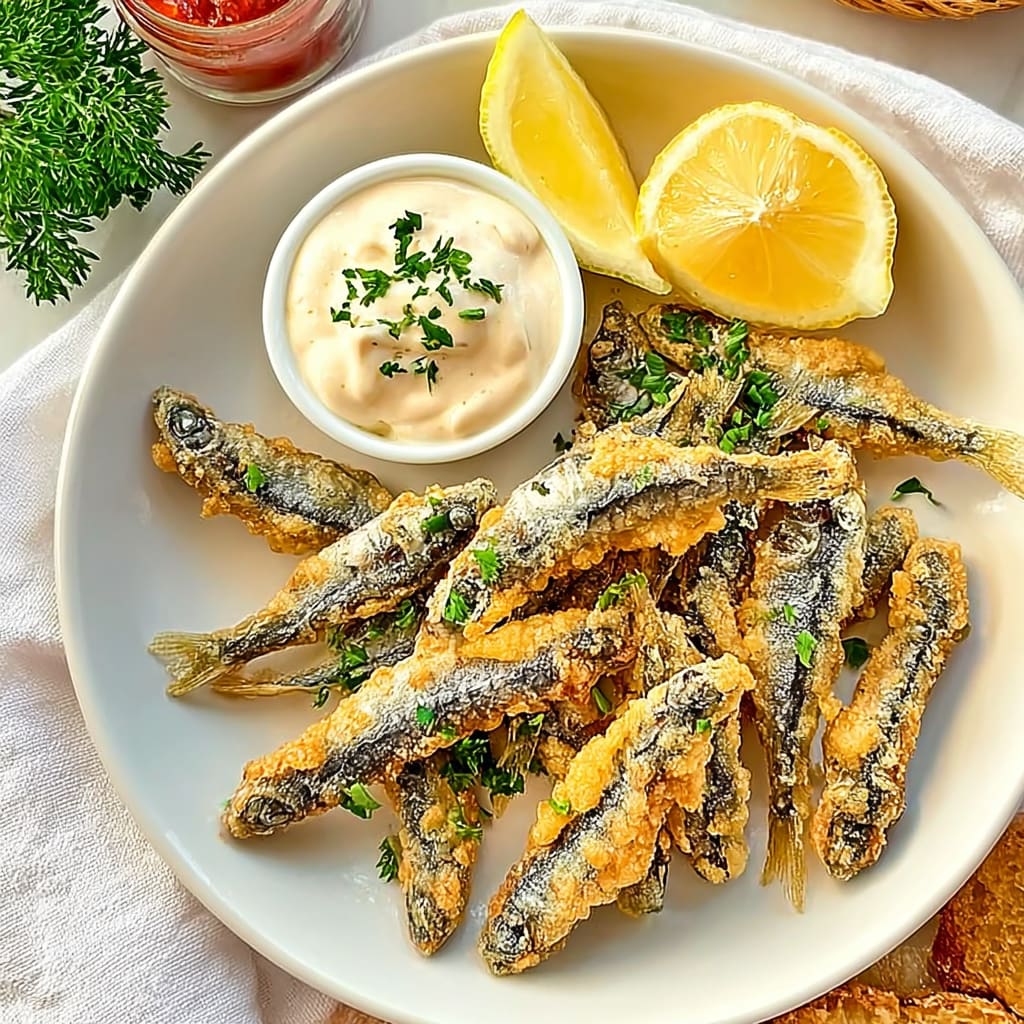
Imagine sinking your teeth into Crispy Spanish-Style Fried Sardines for a Quick Tapas Treat, where the salty crunch envelopes your senses with every bite. The golden, crispy exterior gives way to tender, succulent fish that dances on your palate, releasing waves of umami that beckon you back for more.
I still remember the first time I tried these delightful morsels at a bustling seaside market in Spain, where the air was filled with laughter and the irresistible aroma of fried fish. Perfect for a lively gathering or a cozy night in, these sardines promise an explosion of flavor that will transport you straight to those sun-soaked shores with each savory crunch.
Why Is Crispy Spanish-Style Fried Sardines for a Quick Tapas Treat So Irresistibly Good?
Freshness is key! These sardines are cleaned and scaled, ensuring you enjoy the ocean’s best flavors. Quick prep (just 15 minutes) means you can whip this up anytime, making it perfect for last-minute gatherings. Crunchy batter adds a delightful texture, while versatile serving options let you pair them with your favorite dips or sides. Plus, they’re a crowd-pleaser, guaranteed to impress both seafood lovers and newcomers alike!
Crispy Spanish-Style Fried Sardines for a Quick Tapas Treat Ingredients
- For the Sardines
- 500 grams fresh sardines (cleaned and scaled) – Make sure to choose the freshest sardines for the best flavor in your crispy Spanish-style fried sardines for a quick tapas treat.
- For the Batter
- 100 grams all-purpose flour – This will give your sardines a light and crunchy coating that enhances their natural flavor.
- 1 cup cold water – Using cold water helps create a crispier batter when frying.
- 1 teaspoon salt – Salt not only seasons the batter but also enhances the overall taste of the dish.
- For the Oil
- 500 ml vegetable oil (for frying) – Choose a neutral oil with a high smoke point to achieve perfect frying results without overpowering flavors.
Step-by-Step Crispy Spanish-Style Fried Sardines for a Quick Tapas Treat
1. Clean: Begin by cleaning and scaling the 500 grams of fresh sardines. This step is crucial for removing any unwanted scales, ensuring a delightful bite. Pat them dry with paper towels to help the batter adhere better.
2. Make the Batter: In a bowl, combine 100 grams of all-purpose flour, 1 teaspoon of salt, and 1 cup of cold water. Whisk until smooth; this mixture should have a liquid consistency that clings to the sardines perfectly.
3. Heat the Oil: Pour 500 ml of vegetable oil into a frying pan and heat it over medium heat. You want the oil hot enough that it bubbles slightly when you add the sardines, about 180°C (350°F).
4. Fry the Sardines: Dip each cleaned sardine into your prepared batter, ensuring it’s fully coated. Carefully place them in the hot oil and fry until they turn golden brown, approximately 3-4 minutes per side. Keep an eye on them to achieve that perfect crispiness!
5. Serve: Once fried to perfection, remove the sardines from the oil and let them drain on paper towels. Serve them hot for an authentic taste experience that transports you straight to Spain!
Optional: Serve with lemon wedges for a zesty kick.
Exact quantities are listed in the recipe card below.
Pro Tips for Crispy Spanish-Style Fried Sardines for a Quick Tapas Treat
- Dry Sardines Well: Ensure the sardines are thoroughly dried after cleaning. Excess moisture can prevent the batter from adhering properly.
- Cold Batter Magic: Use very cold water for your batter. This helps create a light, crispy texture when frying, making your sardines even more delicious.
- Heat Awareness: Maintain medium heat while frying. Too hot and the batter will burn; too low and the sardines will absorb excess oil, losing their crispiness.
- Fry in Batches: Don’t overcrowd the pan. Frying too many sardines at once can lower the oil temperature, resulting in soggy rather than crispy Spanish-style fried sardines.
- Perfect Timing: Keep an eye on cooking time—about 3-4 minutes per side should yield that beautiful golden color without overcooking the fish.
- Drain Properly: After frying, place the sardines on paper towels immediately to absorb excess oil for that perfect crispy finish.
Storage Tips for Crispy Spanish-Style Fried Sardines for a Quick Tapas Treat
- Room Temperature: Enjoy your crispy sardines fresh for the best flavor. If left out, consume within 2 hours to ensure safety.
- Fridge: Store any leftover Crispy Spanish-Style Fried Sardines in an airtight container in the refrigerator for up to 3 days. Reheat in an oven to regain crispiness.
- Freezer: For longer storage, freeze unbattered sardines in a single layer on a baking sheet before transferring them to a freezer bag. They can last up to 2 months.
- Reheating: To reheat fried sardines, place them on a baking tray and warm them in a preheated oven at 180°C (350°F) for about 10 minutes until hot and crispy again.
Crispy Spanish-Style Fried Sardines for a Quick Tapas Treat Variations
Feel free to get creative and make this dish your own with these delightful twists!
- Gluten-Free: Replace all-purpose flour with a gluten-free blend for a similar crispy texture. This way, everyone can enjoy the crunch without compromise. Just ensure the blend you choose has a good binding agent!
- Spicy Kick: Add a teaspoon of paprika or cayenne pepper to the batter for an exciting heat boost. The spice will elevate the flavor profile, making each bite a delicious surprise for your taste buds.
- Herb Infusion: Mix in dried herbs like oregano or thyme into the flour for herby notes. This fragrant addition complements the sardines beautifully, creating an aromatic experience that transports you straight to Spain.
- Beer Batter: Substitute cold water with cold beer for a richer flavor and extra crunch. The carbonation will give your coating an airy texture, perfect for impressing guests at your next gathering.
- Zesty Citrus: Squeeze lemon or lime juice into the batter for a fresh, tangy twist. This brightens up the dish and enhances the natural flavors of the sardines, making them irresistible.
- Sesame Crunch: Toss some sesame seeds into the batter to add an extra layer of crunch and nutty flavor. This unique twist adds texture while providing a delightful surprise in each bite.
- Mediterranean Twist: Incorporate finely chopped olives or sun-dried tomatoes into the batter for an authentic Mediterranean flair. These ingredients infuse every bite with rich, savory goodness that pairs wonderfully with sardines.
Make Ahead Options
This recipe for Crispy Spanish-Style Fried Sardines for a Quick Tapas Treat is perfect for meal prep, allowing you to enjoy this delightful dish with minimal fuss. You can clean and scale the 500 grams of fresh sardines up to 24 hours in advance, ensuring they’re ready for frying. Additionally, you can prepare the batter by mixing 100 grams of all-purpose flour, 1 teaspoon of salt, and 1 cup of cold water up to 3 days prior; simply store it in the fridge until you’re ready to fry. When it’s time to serve, heat the 500 ml of vegetable oil in a frying pan over medium heat and dip each sardine in the prepared batter before frying until golden brown—about 3-4 minutes per side. This approach not only saves time but also keeps your sardines crispy and delicious when serving hot!
Crispy Spanish-Style Fried Sardines for a Quick Tapas Treat Recipe FAQs
What type of sardines should I use for this recipe?
Fresh sardines are ideal for this recipe. Look for those that are firm, shiny, and have a fresh ocean smell. If fresh ones aren’t available, you can use frozen sardines, but be sure to thaw them completely and pat them dry before battering.
Can I substitute the all-purpose flour in the batter?
Absolutely! For a gluten-free option, you can use rice flour or a gluten-free all-purpose flour blend. These alternatives will still give you that delightful crispiness while being suitable for those with dietary restrictions.
How long can I store leftover fried sardines?
If you have any leftovers (though they’re hard to resist!), store them in an airtight container in the fridge for up to 2 days. However, to maintain their crispiness, it’s best to reheat them in an oven at 350°F (175°C) for about 10 minutes rather than microwaving.
Can I freeze the fried sardines?
Yes, you can freeze fried sardines! Allow them to cool completely before placing them in a freezer-safe bag or container. They can last up to 3 months in the freezer. When ready to eat, thaw them overnight in the refrigerator and reheat as mentioned above.
What should I serve with crispy fried sardines?
These delicious bites pair wonderfully with a zesty lemon wedge and a side of garlic aioli or spicy salsa. You could also serve them alongside some crusty bread and a chilled glass of white wine for an authentic tapas experience!
What if my batter is too thick or too thin?
If your batter is too thick, add a little more cold water until it reaches a smooth consistency. It should coat the back of a spoon without being runny. Conversely, if it’s too thin, sprinkle in some additional flour until you achieve that perfect balance that will cling beautifully to your sardines!
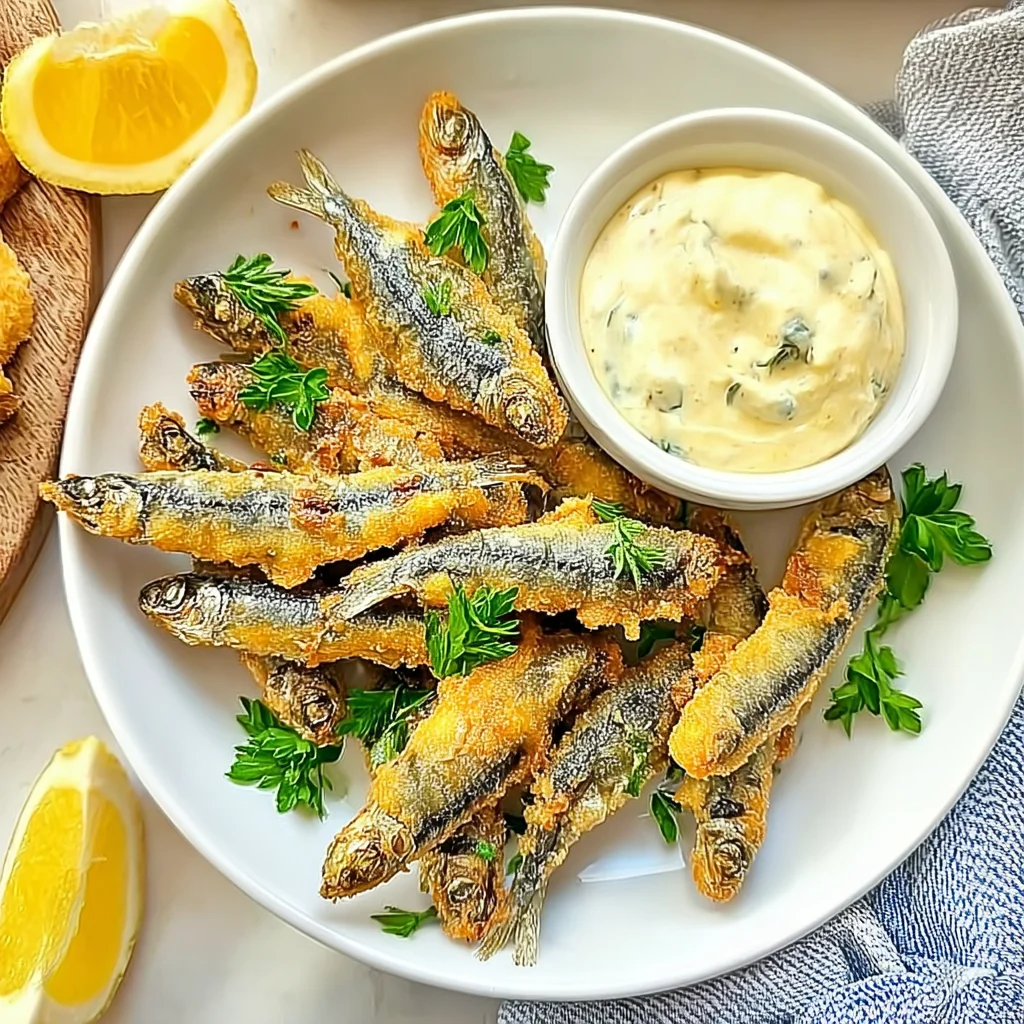
Crispy Spanish-Style Fried Sardines
Ingredients
Method
- Clean and scale the sardines, then pat them dry with paper towels.
- In a bowl, mix the flour, salt, and cold water until smooth.
- Heat the oil in a frying pan over medium heat. Dip each sardine in the batter and fry until golden brown, about 3-4 minutes per side.
- Remove the sardines from the oil and place them on paper towels to drain. Serve hot.