Imagine a scoop of Vegan Twix Ice Cream that melts in your mouth, with creamy textures dancing on your palate and the rich aroma of chocolate wafting through the air. The delightful blend of caramel complements the chocolate layers, creating a taste explosion that will make you forget it’s dairy-free.
This nostalgic treat is perfect for summer barbecues or cozy movie nights, bringing back fond memories of childhood sweets. As you dig into this decadent dessert, prepare for a flavor experience that’s not just a treat for your taste buds but also a celebration of indulgence without compromise.
Why Is Vegan Twix Ice Cream So Irresistibly Good?
Decadent layers of caramel and chocolate make every bite a delightful treat. Creamy coconut milk forms a luscious base that everyone will love, even non-vegans! Quick to prepare, you can whip it up in just 15 minutes with minimal effort. Plus, wholesome ingredients like dates and maple syrup ensure this dessert is both indulgent and guilt-free. It’s the perfect way to impress guests or satisfy a sweet craving any day!
Vegan Twix Ice Cream Ingredients
- For the Base
- 2 cups coconut milk – This creamy base gives your ice cream a rich texture without any dairy.
- 1/2 cup maple syrup – A natural sweetener that adds depth and pairs beautifully with the other flavors.
- 1 teaspoon vanilla extract – Enhances the overall flavor profile, making it taste even more indulgent.
- For the Caramel Layer
- 1/2 cup dates (soaked in warm water) – These provide natural sweetness and a chewy texture reminiscent of traditional caramel.
- 1/4 cup peanut butter – Adds creaminess and a nutty flavor that complements the chocolate perfectly.
- 2 tablespoons coconut oil (melted) – Helps to bind the caramel ingredients together while adding a subtle coconut flavor.
- For the Chocolate Layer
- 1/2 cup dark chocolate (vegan) – This rich chocolate layer brings an irresistible finish to your Vegan Twix Ice Cream.
- 2 tablespoons coconut oil (melted) – Ensures a smooth melting consistency for easy pouring over your ice cream layers.
How to Make Vegan Twix Ice Cream
1. Blend the base by combining 2 cups of coconut milk, 1/2 cup of maple syrup, and 1 teaspoon of vanilla extract in a blender until smooth and creamy, about 1-2 minutes.
2. Churn your mixture by pouring it into an ice cream maker. Follow the manufacturer’s instructions to churn until it reaches a soft-serve consistency, usually around 20-25 minutes.
For the Caramel Layer:
3. Soak 1/2 cup of dates in warm water for about 10 minutes to soften them, making them easier to blend.
4. Blend the soaked dates with 1/4 cup of peanut butter and 2 tablespoons of melted coconut oil until smooth and creamy, resembling a luscious caramel.
5. Layer this rich caramel over your churned ice cream in a container, spreading it evenly for that delightful Twix-like experience.
For the Chocolate Layer:
6. Melt 1/2 cup of dark vegan chocolate with 2 tablespoons of coconut oil in a microwave or double boiler until fully melted and glossy, stirring until combined.
7. Pour the melted chocolate over the caramel layer, ensuring complete coverage for that irresistible finish.
8. Freeze your Vegan Twix Ice Cream for at least 4 hours or until solid, allowing all those layers to meld together beautifully.
Optional: Drizzle extra melted chocolate before serving for added indulgence!
Exact quantities are listed in the recipe card below.
Tips for the Best Vegan Twix Ice Cream
- Coconut Milk Choice: Use full-fat coconut milk for a rich, creamy base that mimics traditional ice cream texture. Light versions may yield icy results.
- Date Soaking: Soak dates in warm water for at least 10 minutes; this softens them and ensures a smooth caramel layer without chunks.
- Churn Time: Don’t rush the churning process! Follow your ice cream maker’s instructions to achieve the perfect consistency before layering.
- Layering Technique: Pour the caramel gently over the churned ice cream to avoid mixing. This creates distinct layers in your Vegan Twix Ice Cream.
- Chocolate Melting: Melt dark chocolate slowly to prevent burning. Stir in coconut oil while it’s still warm for a glossy finish that sets perfectly.
- Freezing Patience: Allow the ice cream to freeze for a full 4 hours or overnight for best results. Cutting corners here may lead to a mushy treat!
How to Store and Freeze Vegan Twix Ice Cream
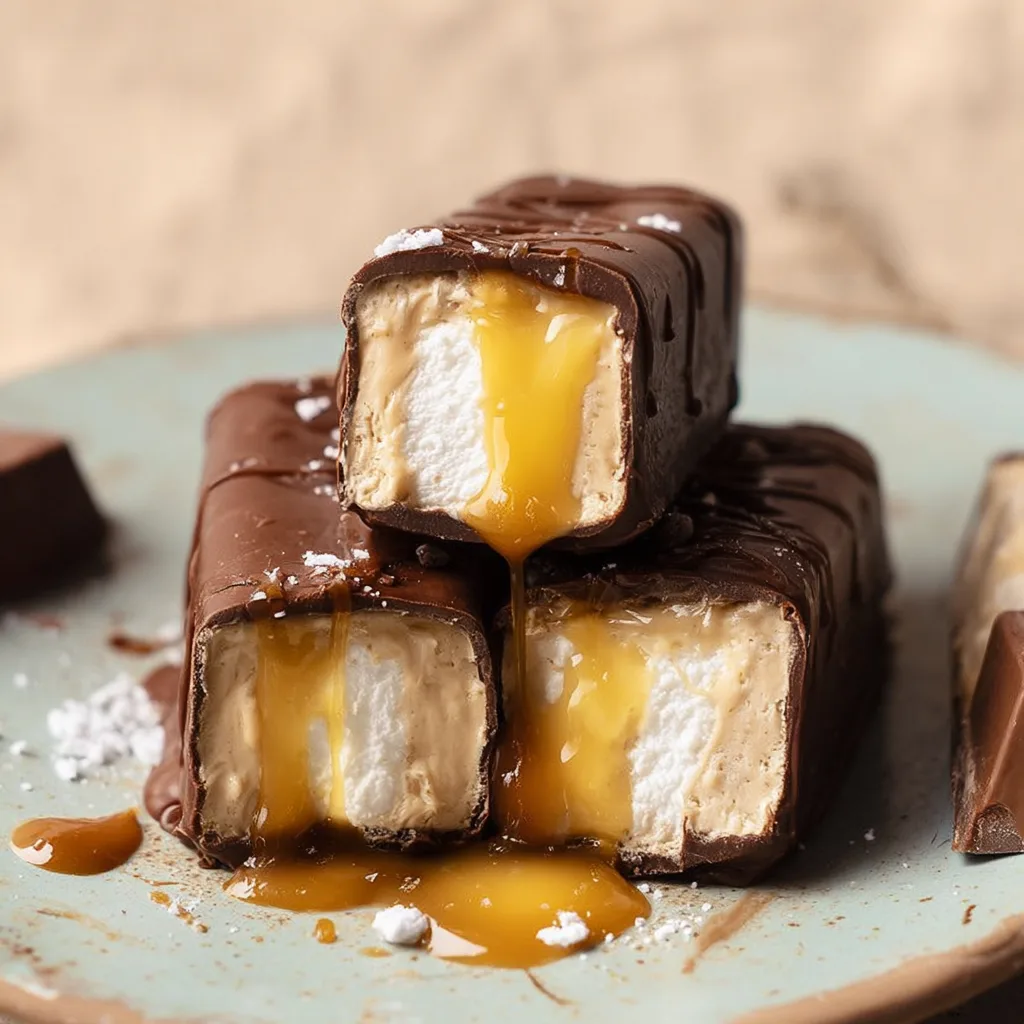
Freezer: Store your Vegan Twix Ice Cream in an airtight container for up to 2 weeks to maintain its creamy texture and delicious layers.
Fridge: If you have leftovers, keep them in the fridge for up to 3 days, but note that the ice cream will become softer and less firm.
Covering: To prevent freezer burn, make sure to press a piece of parchment paper directly on the surface of the ice cream before sealing the container.
Serving Tip: If frozen solid, let the Vegan Twix Ice Cream sit at room temperature for about 10 minutes before scooping for the perfect consistency.
Vegan Twix Ice Cream Your Way
Feel free to unleash your creativity and customize this delightful treat to match your taste buds!
- Nut-Free: Replace peanut butter with sunflower seed butter for a tasty, allergen-friendly alternative. This swap keeps the creamy texture while adding a hint of nuttiness.
- Sweetness Boost: Use agave syrup instead of maple syrup for a different sweetness profile. Its mild flavor allows the other ingredients to shine through beautifully.
- Coconut-Free: Swap coconut milk with almond or oat milk for a lighter base that still churns up creamy goodness. Each option brings its unique character, ensuring your ice cream remains delightful.
- Caramel Twist: Incorporate almond butter in place of peanut butter for a luxurious twist on flavor. The nutty richness pairs perfectly with the sweet caramel layer.
- Chocolate Variety: Experiment with white chocolate chips instead of dark chocolate for a sweeter, creamier topping. This change offers a lovely contrast to the caramel and adds an elegant touch.
- Salted Caramel: Add a pinch of sea salt to the caramel layer for that irresistible sweet-and-salty combination. Just a little sprinkle elevates the flavors to new heights!
- Spiced Delight: Mix in a dash of cinnamon or nutmeg into the base for added warmth and depth. These spices can transform your ice cream into a comforting dessert experience.
- Fruit Infusion: Blend in fresh or frozen berries into the base mixture before churning for an extra burst of flavor and color. The fruity notes complement the decadent layers beautifully, making each bite refreshing!
Make Ahead Options
Preparing Vegan Twix Ice Cream is a breeze and perfect for meal prep enthusiasts! You can make the ice cream base ahead of time by blending 2 cups of coconut milk, 1/2 cup of maple syrup, and 1 teaspoon of vanilla extract until smooth; this can be stored in the refrigerator for up to 24 hours before churning. For the caramel layer, blend together 1/2 cup of soaked dates, 1/4 cup of peanut butter, and 2 tablespoons of melted coconut oil, which can also be prepared a day in advance. Once your ice cream is churned, simply layer the caramel over it and melt 1/2 cup of dark chocolate mixed with 2 tablespoons of coconut oil to pour over the top. This final layer will keep well in the freezer for up to 3 days before serving. To enjoy your delicious Vegan Twix Ice Cream, just remove it from the freezer and let it sit at room temperature for a few minutes to soften before scooping!
Vegan Twix Ice Cream Recipe FAQs
What type of coconut milk should I use for the ice cream base?
For the best creamy texture, opt for full-fat coconut milk. It will provide a rich and velvety base that mimics traditional ice cream. You can find it in cans at most grocery stores—just shake well before using!
Can I substitute maple syrup with another sweetener?
Absolutely! If you prefer a different sweetener, agave nectar or brown rice syrup can work as great alternatives. Just remember that these may slightly alter the flavor profile, but they will still add that delightful sweetness.
How long do I need to freeze the ice cream before serving?
After layering your caramel and chocolate over the churned ice cream, freeze it for at least 4 hours or until solid. This step is crucial for achieving that perfect scoopable consistency. When it’s ready, you’ll see a beautifully firm texture!
What if my caramel layer isn’t blending smoothly?
If you’re having trouble getting your caramel layer smooth, try adding a splash of warm water to the blender. This can help loosen up the mixture and make blending easier. Make sure your dates are well-soaked as this also aids in achieving that creamy consistency.
How should I store any leftover Vegan Twix Ice Cream?
Store any leftover ice cream in an airtight container in the freezer. To maintain its texture, press a piece of parchment paper against the surface before sealing it tightly. This will help prevent ice crystals from forming and keep your dessert luscious.
What’s a good serving size for this recipe?
This delicious Vegan Twix Ice Cream recipe yields about 4 servings, each around 250 calories. For a satisfying treat, serve about half a cup per person—perfect for sharing or indulging solo!