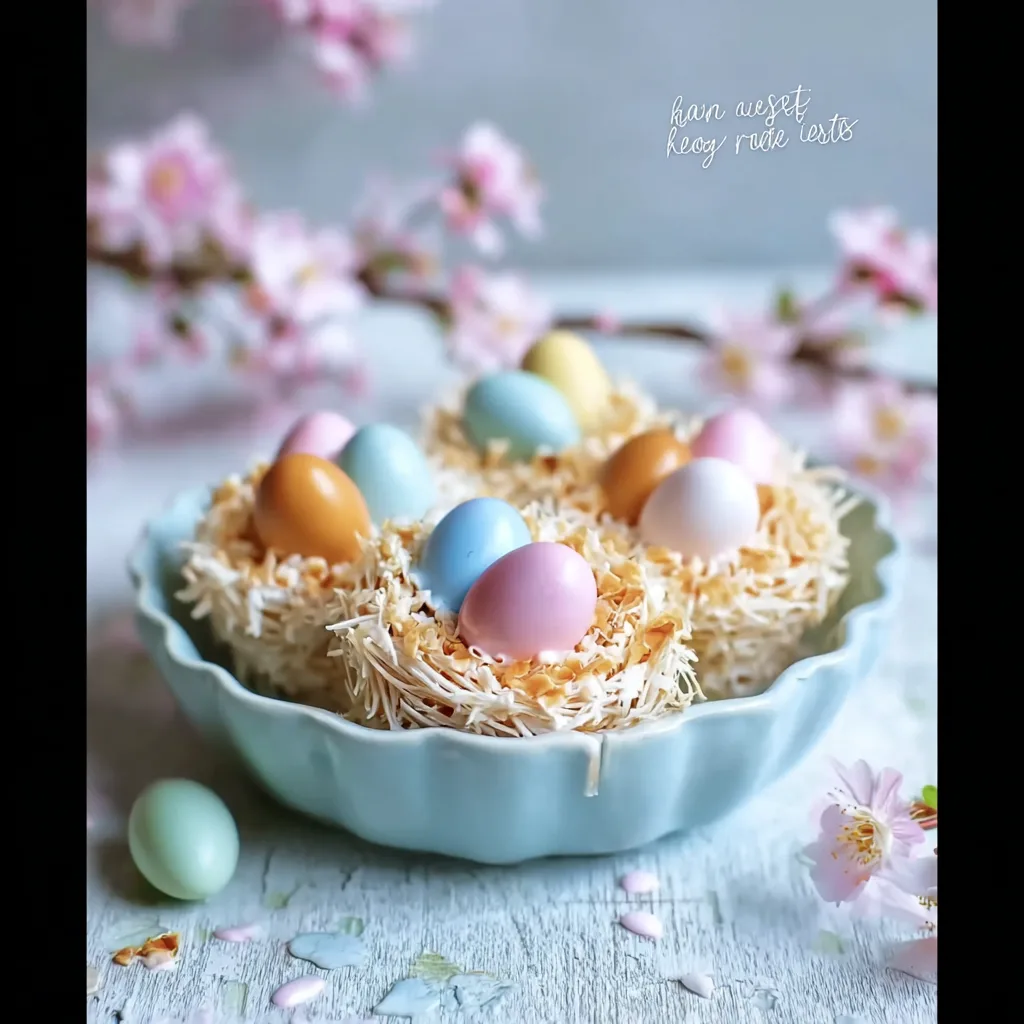
Picture this: a delightful spread of No-Bake Mini Egg Easter Nests that not only look like they jumped straight from a whimsical storybook but also deliver a sweet crunch and creamy chocolate goodness with every bite. The aroma of melting chocolate wafts through the air, inviting everyone to indulge in these charming little nests that are as fun to make as they are to eat.
These adorable treats bring back memories of joyful childhood Easters spent hunting for eggs and devouring sweet confections, making them the perfect centerpiece for your springtime celebrations. Whether you’re hosting an elaborate gathering or simply enjoying a cozy day at home, these no-bake wonders promise to wow your guests while sparking laughter and nostalgia around the table.
Why Is No-Bake Mini Egg Easter Nests That Will Wow Your Guests So Irresistibly Good?
Delightful in every bite, these mini egg nests combine the rich flavors of melted chocolate and creamy peanut butter for a treat that’s truly unforgettable. Quick and easy, you can whip them up in just 15 minutes—perfect for last-minute Easter gatherings. Versatile enough to customize with your favorite toppings, these nests are sure to impress both kids and adults alike. Plus, with no baking involved, cleanup is a breeze! Enjoy the fun presentation that adds a festive touch to your celebrations.
No-Bake Mini Egg Easter Nests That Will Wow Your Guests Ingredients
For the Base
- 2 cups chocolate chips (melted) – Use semi-sweet or milk chocolate for a rich flavor that complements the sweetness of the mini eggs.
- 1 cup crispy rice cereal – This adds a delightful crunch to your nests, making them extra fun to eat.
- 1/2 cup peanut butter (creamy) – Creamy peanut butter binds the ingredients together and enhances the overall taste of these festive treats.
For the Toppings
- 1 cup mini chocolate eggs – These colorful candies not only look adorable but also provide a delicious burst of chocolate in each bite of your no-bake mini egg Easter nests.
Step-by-Step No-Bake Mini Egg Easter Nests That Will Wow Your Guests
1. Combine In a mixing bowl, combine 2 cups of melted chocolate chips and 1/2 cup of creamy peanut butter until smooth. The mixture should be glossy and well-blended for the perfect base.
2. Stir Gently stir in 1 cup of crispy rice cereal until every piece is evenly coated. This will add that delightful crunch you crave, creating a lovely contrast to the smooth chocolate.
3. Scoop Using a spoon, scoop the mixture onto a baking sheet lined with parchment paper. Aim for about a tablespoon per nest to ensure they are perfectly sized for little hands.
4. Shape Shape the mixture into nests by gently pressing down in the center, creating an indentation for your treats. Make sure each nest has a nice rounded edge that holds its shape.
5. Fill Place 1 cup of mini chocolate eggs in the center of each nest, arranging them as you like. Their vibrant colors will brighten up your Easter celebration!
6. Refrigerate Chill the nests in the refrigerator for at least 30 minutes until they set. You’ll know they’re ready when they firm up but still have a soft interior.
7. Serve Once chilled, serve these delightful no-bake mini egg nests to your guests and watch their faces light up with joy! Enjoy this simple yet festive treat together.
Optional: Drizzle melted chocolate over the nests for an extra touch of sweetness!
Exact quantities are listed in the recipe card below.
Expert Tips
- Chocolate Consistency: Ensure your chocolate chips are fully melted and smoothly combined with the peanut butter to avoid graininess in your nests.
- Cereal Coating: Mix the crispy rice cereal gently but thoroughly; over-mixing can crush the cereal, compromising the texture of your No-Bake Mini Egg Easter Nests That Will Wow Your Guests.
- Nest Shape: When forming nests, make a deep enough indentation in the center to hold the mini chocolate eggs, ensuring they won’t fall out after chilling.
- Chill Time: Don’t rush the chilling process; letting them set for at least 30 minutes helps maintain their structure when served.
- Parchment Paper: Always line your baking sheet with parchment paper to prevent sticking and make cleanup a breeze.
How to Store and Freeze No-Bake Mini Egg Easter Nests That Will Wow Your Guests
- Room Temperature: Keep your no-bake mini egg Easter nests in an airtight container for up to 3 days. They’ll stay fresh and delicious on your countertop.
- Fridge: For extended freshness, store them in the fridge for up to a week. Just ensure they are covered tightly to prevent any moisture from affecting their texture.
- Freezer: If you want to make these treats ahead of time, freeze them in a single layer on a baking sheet. Once solid, transfer to a freezer-safe bag for up to 2 months.
- Thawing: When ready to enjoy, thaw your no-bake mini egg Easter nests in the fridge overnight. They’ll be just as delightful as when you first made them!
No-Bake Mini Egg Easter Nests That Will Wow Your Guests Your Way
Feel free to get creative and personalize these delightful treats to suit your taste and dietary needs!
- Nut-Free: Swap peanut butter for sunflower seed butter for a delicious, nut-free alternative. This version retains the creamy texture while avoiding common allergens, making it perfect for schools or gatherings.
- Vegan: Use dairy-free chocolate chips and almond or coconut butter instead of peanut butter. These substitutions will keep your nests plant-based while still delivering that rich, chocolatey flavor everyone loves.
- Crunchy Surprise: Add 1/2 cup of chopped nuts or seeds to the base for added crunch. This twist gives your nests a delightful texture contrast, enhancing every bite with a satisfying crunch.
- Flavored Chocolate: Experiment with flavored chocolate chips, like mint or orange, for a unique twist. The new flavor profile will add an exciting surprise to your nests that’ll have guests guessing!
- Coconut Delight: Mix in 1/2 cup of shredded coconut to the base for a tropical flair. This addition not only elevates the taste but also adds a lovely chewiness that complements the chocolate beautifully.
- Spicy Kick: Incorporate a pinch of cayenne or chili powder into the melted chocolate for an unexpected heat. This daring twist will intrigue spicy food lovers and create an unforgettable dessert experience.
- Fruit Fusion: Top with dried fruit like mini marshmallows or chopped dried apricots instead of chocolate eggs. This fruity variation provides a refreshing contrast to the rich chocolate base, adding color and sweetness.
- Caramel Drizzle: Drizzle caramel sauce over the finished nests instead of using mini eggs on top. The gooey caramel adds a luscious sweetness that makes these treats even more indulgent and irresistible!
Make-Ahead Tips for No-Bake Mini Egg Easter Nests That Will Wow Your Guests
These delightful No-Bake Mini Egg Easter Nests are not only a treat to behold but also perfect for meal prep, allowing you to free up time for other Easter festivities. You can prepare the base by combining 2 cups of melted chocolate chips with 1/2 cup of creamy peanut butter and 1 cup of crispy rice cereal a day in advance. After forming the nests and placing mini chocolate eggs in the center, simply refrigerate them for at least 30 minutes to set. For optimal freshness, enjoy these nests within 3 days after preparing them. When it’s time to serve, just take them out of the fridge and bask in the admiration of your guests as they dive into these sweet, crunchy delights!
No-Bake Mini Egg Easter Nests That Will Wow Your Guests Recipe FAQs
What type of chocolate chips should I use for the nests?
Using semi-sweet chocolate chips is a classic choice for these tasty nests, but feel free to get creative! Milk chocolate or dark chocolate can also work beautifully. Just remember to melt them gently in the microwave or over a double boiler to avoid burning.
Can I substitute the peanut butter with something else?
Absolutely! If you or your guests have nut allergies, you can use sun butter or almond butter as great alternatives. If you’re looking for something a bit different, try using Nutella for a hazelnut twist that will delight everyone.
How should I store the no-bake mini egg nests?
These delightful treats can be stored in an airtight container in the refrigerator for up to a week. Make sure they are chilled completely before storing to maintain their shape and texture.
Can I freeze the nests for later use?
Yes, you can freeze these mini egg nests! Just place them in a single layer on a baking sheet until they are firm, then transfer them to an airtight container with parchment paper between layers. They can be kept frozen for up to three months. When ready to enjoy, simply thaw them in the refrigerator overnight.
What if my mixture is too sticky or crumbly?
If your mixture feels too sticky, it might be due to overly melted chocolate or peanut butter; try adding a little more crispy rice cereal until you reach a good consistency. On the other hand, if it’s crumbly, just mix in a bit more melted chocolate and peanut butter until everything binds together nicely.
How many servings does this recipe yield?
This recipe makes about 4 generous servings with each nest containing approximately 150 calories. Perfect for sharing with family during your Easter celebrations or indulging in a sweet treat all by yourself!