Imagine diving into a bowl of velvety smooth homemade chocolate pudding, where each spoonful whispers sweet nothings to your taste buds with its rich cocoa flavor and luscious texture. The aroma wafts through the air, inviting you to indulge in a dessert that feels like a warm hug on a chilly evening or the perfect midnight snack after a long day.
Every time I whip up this delightful treat, I’m transported back to my childhood kitchen, where laughter and chocolate were always in abundance. Whether it’s for a cozy family gathering or just because you deserve a little sweetness in your life, this homemade chocolate pudding promises an unforgettable flavor experience that will leave you craving more.
Why Is Homemade Chocolate Pudding So Irresistibly Good?
Indulge in the rich, creamy texture that only homemade can provide. Simple ingredients like whole milk and unsweetened cocoa powder come together for an irresistible flavor that’s hard to beat. Quick prep time of just 15 minutes means you can whip this up anytime! Versatile enough to enjoy on its own or as a decadent topping for desserts, this pudding is sure to impress anyone. Crowd-pleasing and perfect for all ages, it’s a classic treat that never goes out of style!
Homemade Chocolate Pudding Ingredients
- 2 cups milk (whole or 2%) – Use whole milk for a richer flavor, but 2% works well too.
- 1/2 cup granulated sugar – This sweetens the pudding perfectly, balancing the rich cocoa.
- 1/3 cup unsweetened cocoa powder – Choose a high-quality cocoa for the deepest chocolate flavor in your homemade chocolate pudding.
- 1/4 cup cornstarch – This thickens the pudding, giving it that luscious creamy texture we all love.
- 1/4 teaspoon salt – A pinch of salt enhances the sweetness and brings out the chocolate notes.
- 1 teaspoon vanilla extract – Adds warmth and depth to the overall flavor profile of the pudding.
- 2 tablespoons butter (unsalted) – Stirring in butter at the end creates a silky finish and extra richness.
Directions: Homemade Chocolate Pudding
1. Whisk together the sugar, cocoa powder, cornstarch, and salt in a saucepan until well combined. This dry mixture will be the foundation of your rich and creamy pudding.
2. Gradually add the milk while continuing to whisk until smooth. Take your time here; this step is crucial for achieving a silky texture without lumps.
3. Cook over medium heat, stirring constantly, until the mixture thickens and starts to boil—about 5-7 minutes. You’ll know it’s ready when it coats the back of a spoon nicely!
4. Remove from heat and stir in the butter and vanilla extract until well combined. The butter will melt beautifully, adding that irresistible richness to your homemade chocolate pudding.
5. Pour into serving bowls and let it cool before serving. The pudding will thicken further as it cools, creating that perfect velvety consistency.
Optional: Garnish with whipped cream or chocolate shavings for an extra touch of indulgence!
Exact quantities are listed in the recipe card below.
Tips for the Best Homemade Chocolate Pudding
- Whisk Thoroughly: Ensure your sugar, cocoa powder, cornstarch, and salt are fully combined before adding milk to avoid lumps in your homemade chocolate pudding.
- Gradual Milk Addition: Pour the milk slowly into the dry ingredients while whisking continuously. This step is crucial for achieving a smooth texture.
- Constant Stirring: Stir constantly as you cook; this prevents the pudding from sticking to the bottom of the pan or forming lumps.
- Watch for Boiling: Remove the pudding from heat immediately once it begins to boil. Overcooking can result in a grainy texture rather than the silky smoothness you desire.
- Chill Time Matters: Allow your pudding to cool in the serving bowls before refrigerating. This helps develop that rich flavor we all love in homemade chocolate pudding.
How to Store and Freeze Homemade Chocolate Pudding
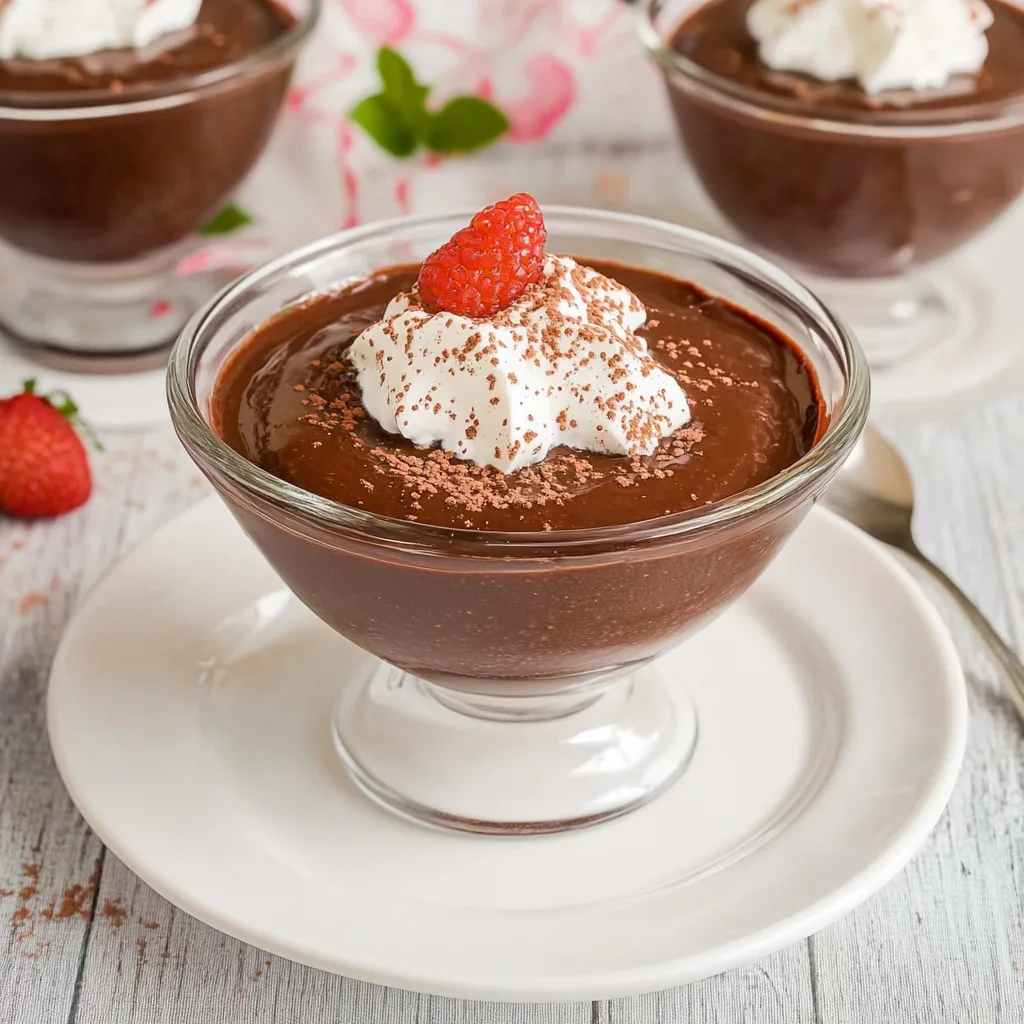
- Fridge: Store your homemade chocolate pudding in an airtight container for up to 3 days. To prevent a skin from forming, press plastic wrap directly onto the surface.
- Freezer: You can freeze homemade chocolate pudding for up to 2 months. Make sure to use a freezer-safe container and leave some space for expansion as it freezes.
- Thawing: When ready to enjoy, thaw the pudding overnight in the fridge. Stir well before serving to restore its creamy texture.
- Reheating: If you prefer it warm, gently reheat on the stovetop over low heat, stirring constantly until smooth. Enjoy every rich bite!
Homemade Chocolate Pudding Your Way
Feel free to get creative and elevate this delightful dessert with these fun twists and variations!
- Dairy-Free: Substitute the milk with almond, coconut, or oat milk for a creamy, non-dairy version. This change adds a subtle nutty flavor that complements the chocolate beautifully.
- Rich & Decadent: Use whole milk or add an extra tablespoon of butter for an even creamier texture. The richness will make each bite feel like a luxurious treat!
- Sweetness Swap: Try using brown sugar instead of granulated sugar for a deeper, caramel-like sweetness. It enhances the overall flavor profile and adds warmth to the pudding.
- Flavor Boost: Mix in a tablespoon of instant coffee granules to intensify the chocolate flavor without overpowering it. Just a hint of coffee can elevate your pudding to gourmet status!
- Textural Twist: Fold in some mini marshmallows or chocolate chips after cooking for an added gooey texture. They melt slightly and create delicious pockets of sweetness throughout.
- Spicy Kick: Add a pinch of cayenne pepper or cinnamon to introduce a warm spice element. This unexpected twist makes every spoonful exciting and unique.
- Fruit Infusion: Incorporate pureed fruit like raspberries or bananas into the pudding base for a fruity twist. This not only adds vibrant color but also a refreshing contrast to the rich chocolate.
- Nutty Flavor: Stir in some finely chopped nuts like hazelnuts or almonds before serving for an added crunch and nutty aroma. It’s a delightful way to surprise your taste buds!
Make Ahead Options
This homemade chocolate pudding is an excellent choice for meal prep, allowing you to indulge in a rich and creamy dessert whenever the craving strikes. You can easily measure out the dry ingredients—2 cups of milk, 1/2 cup of sugar, 1/3 cup cocoa powder, 1/4 cup cornstarch, and 1/4 teaspoon salt—up to 24 hours ahead of time. Simply whisk these together in a saucepan, gradually adding the milk until smooth, then cook over medium heat until thickened. After removing it from the heat, stir in the butter and vanilla extract before pouring the pudding into serving bowls. Once cooled, it can be stored in the refrigerator for up to three days. To serve, just give it a quick stir to restore its creamy texture and enjoy your delightful homemade chocolate pudding!
Homemade Chocolate Pudding Questions Answered
What type of milk works best for homemade chocolate pudding?
You can use either whole or 2% milk for this recipe, depending on your preference. Whole milk will give you a richer, creamier pudding, while 2% will still yield a delicious result with slightly fewer calories.
How should I store leftover chocolate pudding?
To keep your homemade chocolate pudding fresh, cover it with plastic wrap directly on the surface to prevent a skin from forming. Store it in the refrigerator for up to 3 days. Just give it a gentle stir before serving to bring back its creamy texture!
Can I freeze homemade chocolate pudding?
While it’s possible to freeze chocolate pudding, I recommend enjoying it fresh for the best texture and flavor. If you must freeze it, place it in an airtight container and consume within 1 month. Thaw it in the fridge overnight before serving, but be aware that the texture may change slightly.
What should I do if my pudding doesn’t thicken properly?
If your pudding isn’t thickening after cooking on medium heat for about 10 minutes, ensure you’re stirring constantly and cooking long enough. The mixture should start to boil gently; this is crucial for activating the cornstarch. If it’s still too thin, you can whisk in a bit more cornstarch mixed with cold milk (about 1 tablespoon) during the final stages of cooking.
How many servings does this recipe make?
This delightful homemade chocolate pudding recipe yields four servings. Each serving is about 200 calories, making it a perfect treat for sharing with family or friends after dinner!
Can I adjust the sweetness of the pudding?
Absolutely! If you prefer a less sweet dessert, feel free to reduce the granulated sugar from 1/2 cup to 1/3 cup. You can also use alternatives like honey or maple syrup, but be sure to adjust the measurements accordingly since they are sweeter than sugar!
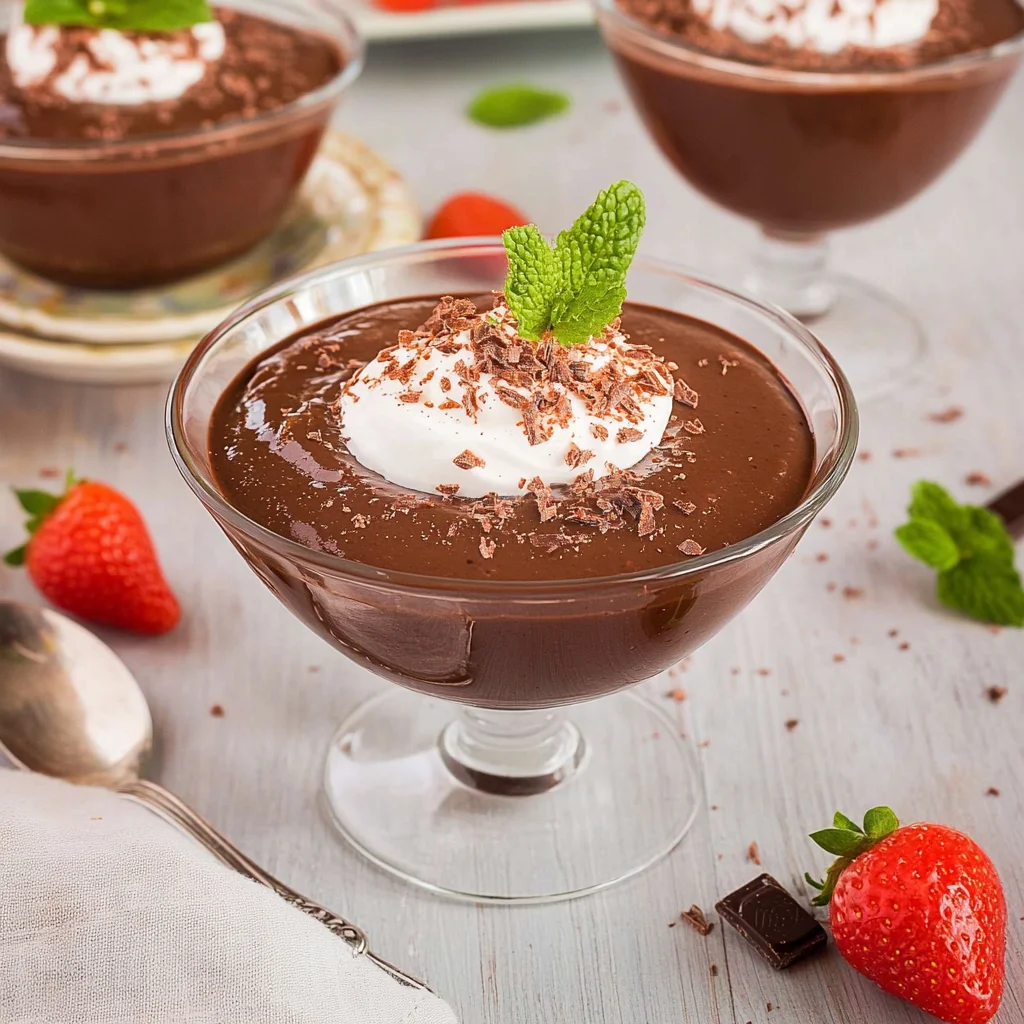
Homemade Chocolate Pudding
Method
- In a saucepan, whisk together the sugar, cocoa powder, cornstarch, and salt.
- Gradually add the milk while continuing to whisk until smooth.
- Cook over medium heat, stirring constantly until the mixture thickens and starts to boil.
- Remove from heat and stir in the butter and vanilla extract until well combined.
- Pour the pudding into serving bowls and let it cool before serving.